Sunday, 8 September 2013

Empire of the blazing sun Imperial rifles

Empire of the blazing sun Imperial rifles  
The Imperial rifles march into battle in a medium spartan box!
The back of which has a render of the models included and some fluff about the section. Inside we find:
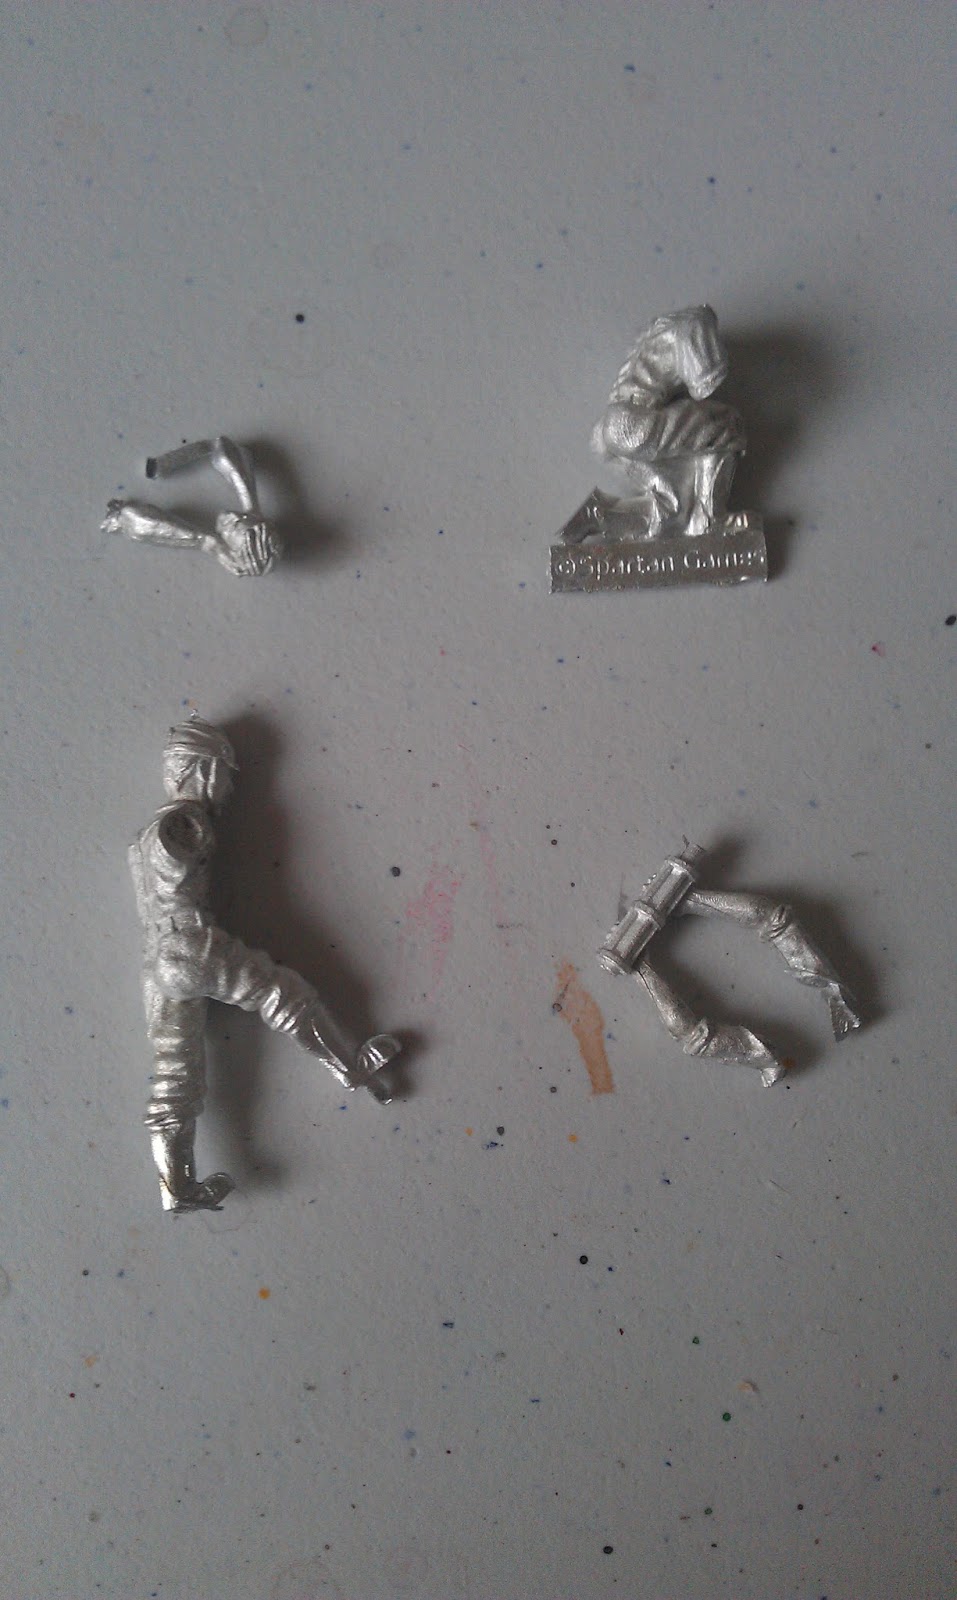
Zooming in on the details of the models:

Contents as list:
1 Activation Card
5 riflemen 

Quality:
The models are of a nice quality with clear casting in white metal.

Appearance:
I feel the imperial infantry capture the feel of military uniformity and order nicely.  Despite being in two parts the models can not be posed and as there are no optional bits included, it is not possible to add any simple variety.

Tabletop Usage:
The imperial rifles are a mainstay section; as such, inclusion of  a section of them or a section of ashigaru is mandatory to create a legal force.
Whilst the ashigaru are close range power houses, the imperial rifles eschew melee in favour of long ranged firepower.
Compared to other ranged infantry the imperial rifles compete well, having the advantage that their extended range contains range band three. Countering this is the quick setup model assigned rule (MAR) requiring a command point to be spent if the unit fires in the same activation as it moves and lowering the dice colour of such attacks by one.
The penalty for firing at long range combines with quick set up, making doing so costly (two command points if there is an officer nearby, four if relying on the section's sergeant) and somewhat ineffectual! This cases me to think it may be best to use early turns to run Imperial infantry to an ideal location to rain a steady tempo of ranged death from!

Cost per model:
At an RRP of £14 (or £12.60 from thetrolltrader or firestormgames) for a box of 5 the imperial rifles work out at £2.80 (or 2.56) per model. For metal models of this size this is solid value.

Cost per section:
To get the most from a section of imperial rifles you want a full section of ten models costing £28 to which you can also add an upgrade box for £9 (£8.10) giving a final coat of £37 (or £33.3 with 10% discount).

Conclusion:
The imperial rifles are nice models however the small number of sculpts and the lack of any options for individuality give a total score of 8 out of 10!

Tuesday, 20 August 2013

Dystopian Legions Prussian Empire Teutonic Knights, review and unboxing

Prussian Empire Teutonic Knights
The knights march into battle in a medium Spartan box

The box back shows a detailed render, along with some fluff and a list of the box content
Also included are three large bases. The included game card is titled 'Impervious' and is the same as the one included in the starter box.
The knight's bodies are an intricate resin block. There is a nice surprise in addition of a new pose relative to the one included in the starter box.
 Each of the three knights has their own small bag of metal bits, these are listed as upgrade packs on the spartan store.
First and identically to those included in the stater box is the standard knight. I have chosen to differentiate this model from the standard knights included in the starter box by using the different body sculpt here.


 The specialist boasts a humungous Tesla lance that has some nice visual symmetry with the Tesla bayonets on the grenadiers. I really like the bucket head included with this model and the different shoulder pads are a deft touch.

Finally we have the Unter Marshal (under Marshal) with his own shoulder plates and imposing winged helmet

The models are inherently modular and as such you can swap the shoulder plates and heads about as you please, the shoulder pads can also be omitted on one or both sides to add verity.
Here are all three constructed:

Construction:
I didn't find the knights difficult to build. Most problematic is gluing the arms in place: make sure that the peg on the model is smooth and then hold the arm in place with bluetack until the glue sets. 

Contents as list:
Standard Teutonic Knight
Teutonic Knight with specialist upgrade
Teutonic Knight Unter Marshal
Imperious game card
Activation card
3 Large round bases.

Quality:
The models are of a high quality easily matching anything  or beating anything comparable. The mould lines are in manageable places and the detail is clear.

Appearance:
Personally I really like the knights placing them high among the  reasons I started collecting this game originally! I find they bespeak a smouldering malevolence that is just wonderful in a model.

Table Top Usage:
If you bought the starter box and the knights box you should now have 5 knights to command. The simplest way to deploy these is as a section of three standard knights. This offers the player a mobile wall of cover which, if followed by a section of grenadiers with attached lieutenant using Force march (target section moves three inches in any direction) on the knights, allows the them to advance quickly while the grenadiers advance in relative safety. This can be an effective tactic in smaller games where the knights have little to fear.
A section of standard knights will require babysitting by an officer to achieve their potential, this can be problematic in larger games. 

Adding a specialist to the section brings anti ironclad firepower and the 'Blast' Weapon Assigned Rule (WAR) at the cost of three points and the ability to fire out to range band (RB) three. Personally I find this to be an easy choice in larger games where I know there is going to be an Ironclad and I want as many weapons with armour piercing as I can get; in smaller games the specialist can be your insurance against a surprise Ironclad.
Thematically, I would love for the specialist to have the champion Model Assigned Rule (MAR). 

The Unter Marshal brings the ability for the unit to act independently, a harder to kill model, one of the best dueling stat lines in the game and the Force March ability. To me this makes the Unter Marsh a very viable choice.
Remember: an officer can't use force march on the section they are in command of.

Once deployed, the knight's towering MAR means that they are difficult to conceal behind anything other than an Ironclad. Inversely, it does mean that infantry can hide behind the knights. This mobile cover concept is the simplest way to use the knights, although whiled effective it does, I feel, waste their offensive potential. Making  use of that potential will require you to get the knights in close somehow, my personal favorite tactic is to use two units of knights next to each other, this allows them to use force march on each other and speed across the battlefield.

Price Per Model:
At a R.R.P. of £24 (or £21.60 from The Troll Trader or Fire Storm Games) the Knights march in at £8 (£7.2 with discount) per model. This seems a lot but allow me show you a photo:
Yes that is a GW terminator, look at the relative size of these models, now the price seems so much more reasonable.

Conclusion:
The only thing that holds this box back is the lack of additional heads and shoulder plates to customise your unit as a result it gets an outstanding 9 out of 10!
I leave you with a picture of one of my painted knights, I used a scenic base from  terrain geek


Friday, 16 August 2013

Federated States of America M18673" Hotchkiss Revolving Cannon, assembly instructions, review and unboxing

Federated States of America M18673" Hotchkiss Revolving Cannon
The Hotchkiss is rolled into battle in a medium Spartan box.
The back has a render of the included models, some fluff and a detailed list of the contents:
The included game card suppressing fire has the potential to be useful.
The two crew are both multiple part models:

 The gun has a large number of parts:


Assembly Instructions:
Here are the steps I took to assemble the model along with some suggestions on how to avoid the mistakes that I made. The process took me a little over an hour and will require: A pair clippers, a pin drill and pins (I used paper clips), a craft knife and super glue. A round needle file would be helpful but is not required. I find that super glue with a brush applicator or the gel kind to be worth the extra money, if you have the type that takes a little while to set that will be ideal.
Step 1
My first step was to assemble the crew. I used a piercing saw to remove the tabs from the models then gave them a quick file to remove any flash; this can be done with clippers and a craft knife if required.
Do not glue the man holding the lever's arms to his body. Instead, place the arms either side of the model and gently press on the shoulders until they hold against the model on their own. I had to bend mine to be further apart to start with. This should allow the lever to be moved up and down while remaining attached to the man.
Step 2
Next up, I started to assemble the gun. I first removed all of the flash and mold lines from all the pieces. I then selected the main part of the gun and the triangular stock to be my starting points.
 I strongly recommend that you pin this joint. Unlike me before completing this step you should also drill holes into the sides of the stock so that it can be pinned to the wheels later. Here are the two parts attached to each other and the ammo feed to be attached in step 3:
I have gone with a directly vertical angle, this was not the best as you will see later a slight angle would be better, be careful to ensure that you will still be able to attach the ammo feed.
Step 3
Next is the ammo feed, this required me to crush the part such that it held its self in place, then apply glue. I wore gloves to do this and recommend great care is taken in doing so.
Step 4
 Next we need to assemble the wheels. The wheels are in two parts shown here:
I found that the joint between the wheel, the leg and the stock was rather poor and required some work to fit correctly so I highly recommend that you dry fit first; I found pushing the needle file through the hole to be the best way to adjust the fit. Glue the legs to the wheels, their being circles means that it doesn't matter what angle you do this at. Here is a picture of the three parts that the model now consists of (excluding the crew):
Step 5
Attaching the wheels to the stock is fairly easy if you pin them (and pretty difficult if you don't). Here my poor choice of angle between gun and stock comes into play as I discovered the completed gun did this:
To address this I placed a small block in front of one the wheels. In the image below I have also added the handle - I have gone for a directly downward angle however any angle to the right of the centre line should be fine if you have not already glued the gunner's arms in place. This is because the gunner must be positioned to the left of the gun and takes up a large amount of space due to how far apart his feet are.
Step 6
Now all that is required is to attach the gunner with the lever in his hands. To do this, I blue tacked the gun to the base and attempted to make the models dry fit. Once I located the correct position I marked the base to indicate where to place the model with a pencil and glued the gun in place. From there attaching the gunner was a simple case of holding him in place, I glued his feet first.
Hotchkiss
All in all I would describe this model as fiddly and not ideal for people new to building things.

Review
Contents as list:
Hotchkiss revolving cannon
Two crew
Large base
Game card
Activation card

Quality:
The model is of a high quality as expected of Spartan
Appearance:
The model has an obvious deadliness about it that works well.

Table Top Usage:
The hotchkiss is fragile, there is no two ways about this which, considering how much it costs and its damage potential, is going to make it a primary target. With this is mind I think the three riflemen that you can attach to it are a great idea, park them in front of the gun and they will soak up the incoming fire first.

Given the short range of the model and the FSA dislike of melee I would suggest that the best way to use this model seems is parked in cover on the end of your gunline, ready to proud fire into anything that attempts to close with you.

Price Per Model:
At an RRP of £14 or £12.60 from the troll trader or FireStrom Games the hotchkiss  is a good price for a model of this ilk.

Conclusion:
The Hotchkiss is a nice kit, worth a solid 8 out of 10!

Sunday, 11 August 2013

Empire of the Blazing Sun Alchemist Tonegawa and Takera Isamu - Review and Unboxing


 Tonegawa and Tarkera stroll onto the battle field in a small Spartan box, the front only depicts Tonegawa with his mechanical grenade launcher.

 The back, as standard, depicts the included models as a render, along with some fluff and a detailed listing of the box contents- shown here:
Both of the game cards included are used to empower other friendly units.
The models themselves are highly detailed:


Assembling them was easy; care should be taken when cleaning up Takera's claws so that they fit correctly into the slot on the model.
Here they are assembled: I removed the strip from each model's feet with a piercing saw, this enables the use of a scenic base. If done correctly it also means the models can stand on their own feet.

Contents as list:
Two detailed models
Required bases
Activation card
Two game cards

Quality:
The models are of a very high quality, the cast is clear and the mould lines easy to clean up.
Appearance:
I  like both of the models, Tonegawa's pose is nice and evocative; I picture him pinging gas grenades into the distance. Takera meanwhile has a 'Bring it on' pose befitting his 'Way of the warrior' (Must accept challenges.) MAR nicely.

Tabletop usage:
A weakness of the Empire forces is the lack of sergeants, currently only the imperial rifles are able to purchase a sergent. This means that in order to function efficiently all empire forces must remain near an officer. As the starter box only contains two of these a third is a highly desirable option - which Takera helpfully provides.

This need for the use of Takera as an officer does suggest that the primary place to deploy the pair is attached to a unit of infantry. Of the options available ashigaru seem the best option: a smaller unit with a pair of specialists will be able to make three, three red dice attacks against enemy ironclads a turn! While a larger unit will gain increased melee punch and the ability to lay down smoke on the approach.

Alternatively the pair could be deployed with a section of imperial infantry, in this case the section can neglect to bring a sergeant (increasing its ranged firepower) and no longer be such a soft target in melee, the section can also deploy smoke after it fired each turn allowing it an advantage in ranged duels against, say, the British.

Price per model:
At an RRP of £9.50 or £8.55 from Troll Tader or Fire Storm Games this box works out at £4.75 or (£4.28) a model. Remembering these are larger 32mm metal models this is great value.

Price per section:
Tonegawa and Takera are a section unto themselves

Conclusion:
Overall this is a great box 10 out of 10

Monday, 5 August 2013

Dystopian Legions Empire of the Blazing Sun - Officer and Bodyguard Box - Review and Unboxing

Empire of the Blazing Sun Bodyguard and Officer


The body guard and officer march into battle in a small Spartan box, the front of which only depicts the officer.

The back, however, clearly shows the bodyguard along with some fluff and a detailed listing of the contents.
The officer and his body guard are both detailed metal models:

Also included are the required bases, an activation card and, excitingly, a set of plastic command points:

The command points are a nice touch; made of strong plastic, the provided sheet breaks into 12 neat tokens:
Using the tokens, I found them to be easier to handle than the cardboard ones provided in the starter box, while adding a small touch of class compared to using proxy tokens such as coins. The tokens are not nation specific, although a quick paint job could easily make them so, allowing them to be pooled if you have bought the officer box for more than one nation.
Contents as list:
2 detailed metal models as list
2 bases
1 activation card
12 plastic command point tokens.

Quality:
The models are of a high quality, exemplified by the body of the bodyguard which is a truly excellent casting. The arms being supplied separately to the bodies should also allow some customization and easier conversions, something that has until now been lacking in the legions range. More negatively, the bodyguard's face is somewhat lacking in detail and the officer's face has a mould line directly through the middle of it. These, are however, minor detractors.

Appearance:
Both the models look terrific, personally I prefer the bodyguard's personification of a more traditional Japan. I know the officer's gas mask will please some people who think that the Japanese utilisation thereof in dystopian legions has been underrepresented.  


Tabletop usage:
Bodyguard:
The bodyguard is purchased in game as part of the officer's section, bringing with her a significant melee punch, one of the best dueling stat lines in the game and the adjutant + champion MARs. The bodyguard, not being an officer herself, is unable to issue challenges and so her dueling stats will be hard to use directly. The champion MAR however allows her to fight if her charge is challenged this will be most useful against enemy characters such as the Prussian Oberst.
Aside from her ability to kill enemies directly the bodyguard also has an indirect utility in the form of the adjutant MAR; this allows the player to draw an extra card each turn and then choose which of the cards they have drawn to discard. In a force with a large number of unit specific cards this could be extremely potent.

Officer:
Every force is required to take a lieutenant. Most players, however, will already have one from the starter box. The prospect of taking two lieutenants (and the four mainstays that would require) is a choice I could easily write an entire post on and not really something to linger on here.
How this model differs from that supplied in the starter box is firstly in the sculpt and there is something to be said for the ability to take different models in order to vary the look of your army on the table top. The model its self is also armed with a shotgun rather than the pistol that is supplied in the starter box.
The shotgun offers improved firepower against infantry and the ability to ignore a measure of protection that cover provides your enemies at the cost of range, the ability to threaten ironclads and two points. Personally I consider this a difficult choice, what the shotgun seems to offer to me the most is the ability to claim a piece of area terrain such as woodland with relative ease, firmly claiming any objective within.

Per model price:
At an RRP of £9 the officer and bodyguard work out at £4.50 a model. This is reduced if you purchase the model from TheTrollTrader or firestormgames who both offer a 10% discount. Considering the 12 tokens provided and the detail in the casting this a reasonable price for the set.


Price per section:
The officer and bodyguard are a section unto themselves.


Conclusion:
In conclusion this a great box worth a resounding 9 out of 10.